How to change a wheel on a car?
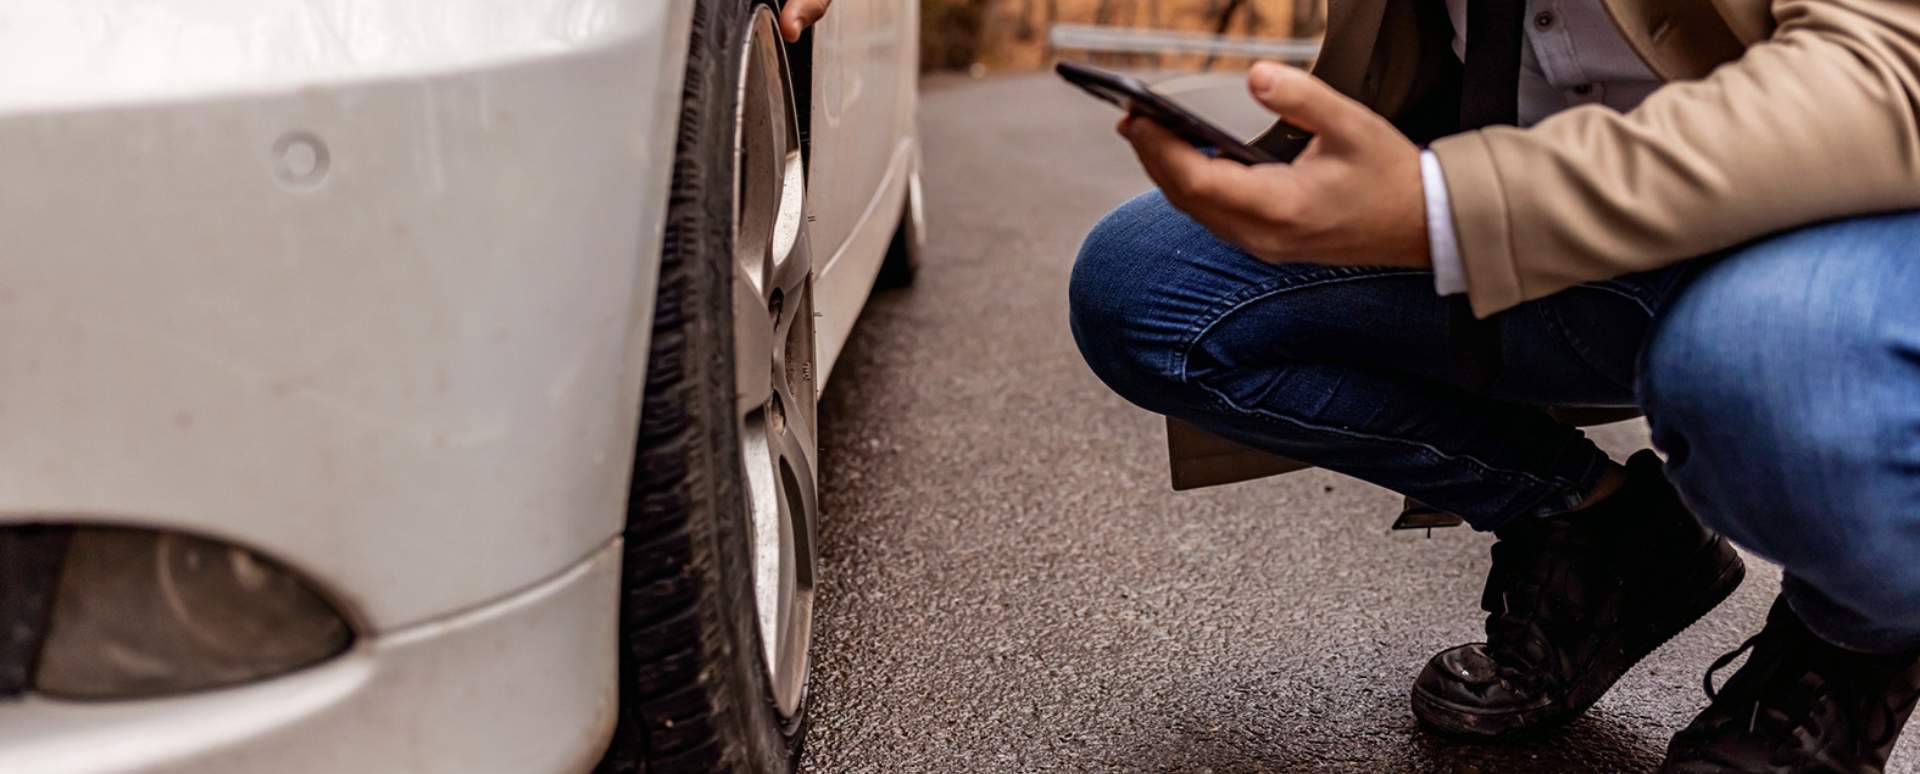
Whenever put in a situation where a car wheel needs to be changed, a lot of drivers have the tendency of delegating it to a mechanic. Even though it can seem daunting, learning and performing this task is easier and quicker than you may think.
This guide will walk you through all the steps and list all the tools you’ll need to fully change your vehicle’s wheel in a timely manner.
Contents
- Step 1: Gather the tools
- Step 2: Place the triangle before starting to work on your vehicle
- Step 3: Remove Covers
- Step 4: Jack up the wheel
- Step 5: Remove and replace the wheel
Step 1: Gather the tools
The first step is gathering the equipment you’ll need to change the wheel. You should have everything you need in the vehicle’s toolbox, if you don't, then it's worth investing in some basic tools to keep in the boot. Here’s a list of the tools that you will need:
- Car jack
- Wrench and locking wheel nut/bolt key (if applicable)
- Spare wheel (can be under the boot lining or under the chassis of the car)
- Triangle
If your vehicle doesn't have a spare wheel, then you won't be able to complete this task if you're on public roads and don't have access to a spare. We'd recommend checking your vehicle to see if it has one before going any further.
Please note: Wheels aren't very light, so we'd recommend having a friend assist with this task if available.
Step 2: Place the triangle before starting to work on your vehicle
This step is of extreme importance if you need to change the tyre or remove your vehicle’s wheel whilst on the road or on the hard shoulder.
It's recommended that the warning triangle is placed 45 meters (147 feet) behind the vehicle you're going to work on. The triangle should be on the same side of the road as your car.
It’s necessary to take measures to avoid further accidents and incidents.
Step 3: Remove the covers
It’s not uncommon to find covers on a vehicle’s wheel nuts/bolts. Remove the covers (sometimes you’ll need to apply a lot of pressure in order to loosen them) using a pair of small grips, or the tool that came with the car if it's there.
This procedure should be done whilst the tyre is sitting on the ground. Trying to apply pressure on the covers when the wheel is suspended in the air could make this process harder than it has to be.
After the covers have been removed, you may encounter ‘locking wheel nuts’ (which aim to prevent alloy wheel theft). You’ll need an attachment called a ‘locking wheel nut/bolt key’ in order to remove them.
Step 4: Jack up the wheel
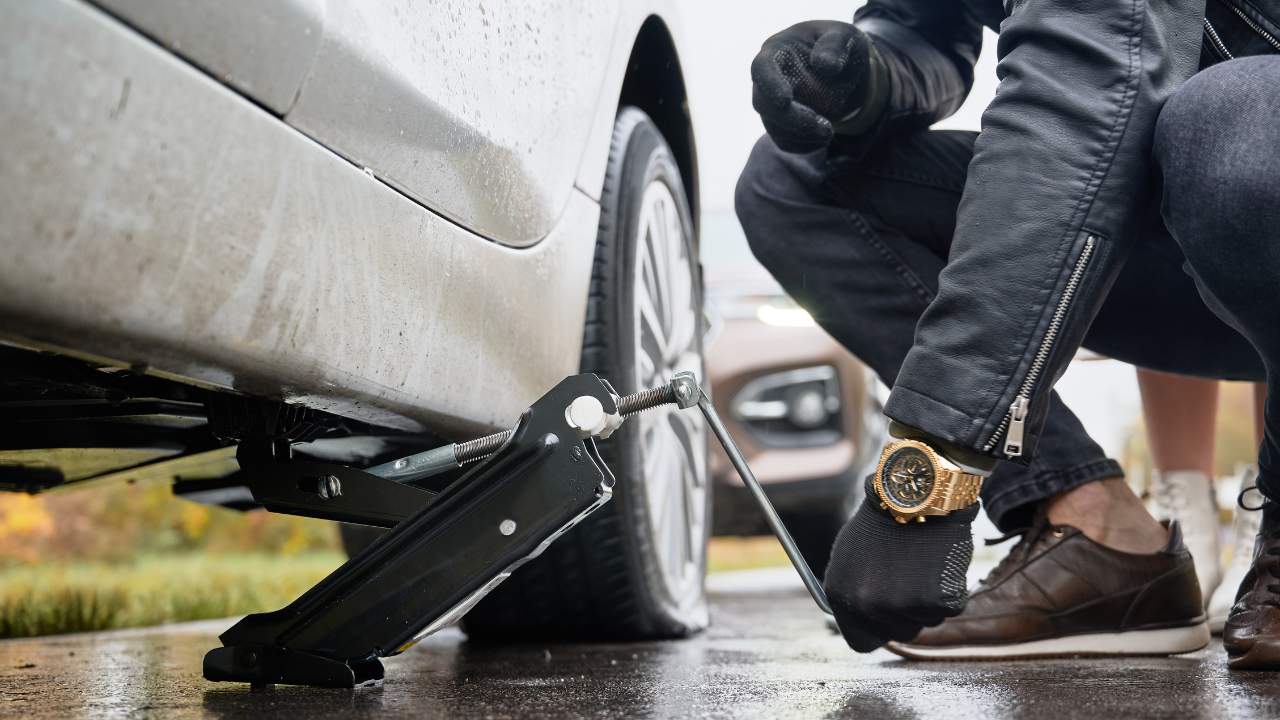
Once the covers and locking wheel nuts/bolts have been removed, and the rest of the nuts/bolts have been loosened, find the carjack point, which should be somewhere under the sills (the space down the side of the car between the front and rear wheels). You can use the vehicle’s manual to find where the jack point is placed, in case you can’t find it.
Place the carjack directly beneath the jack point and start lifting the vehicle, taking precautions not to keep or place any tools or body parts under the vehicle. Make sure to leave enough space between the wheel and the floor that allows the removal and replacement of the wheel.
Step 5: Remove and replace the wheel
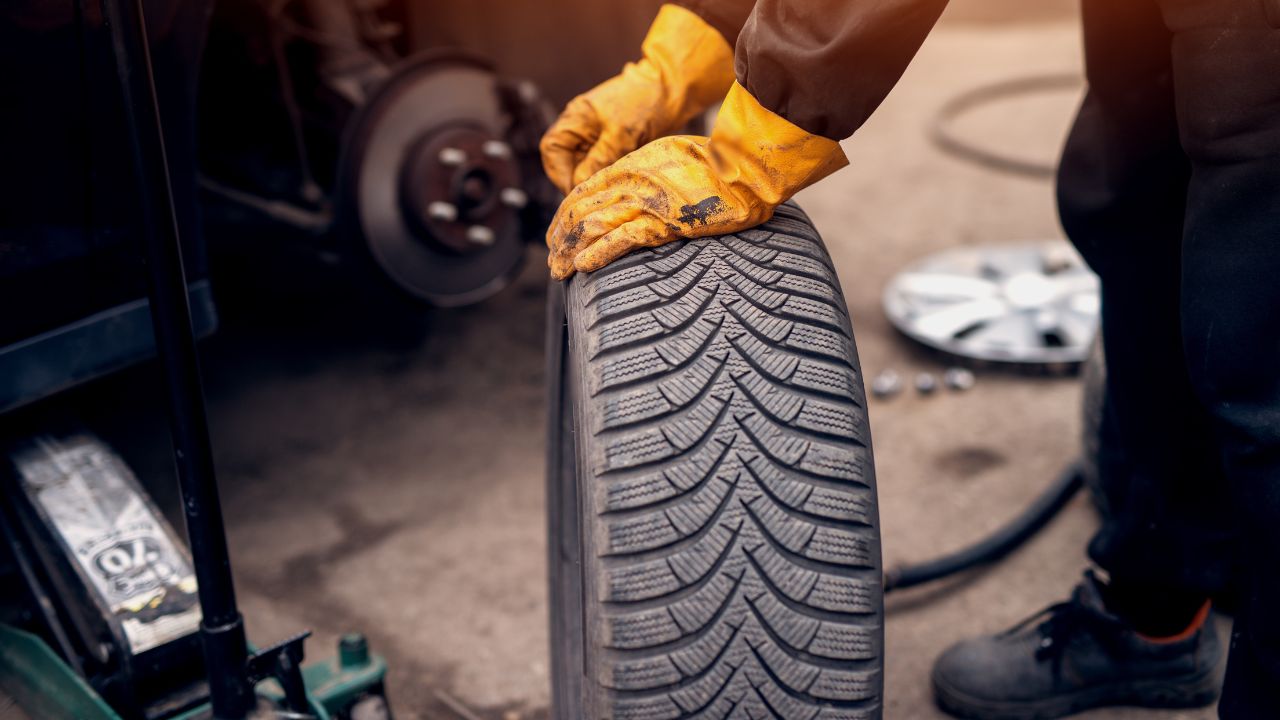
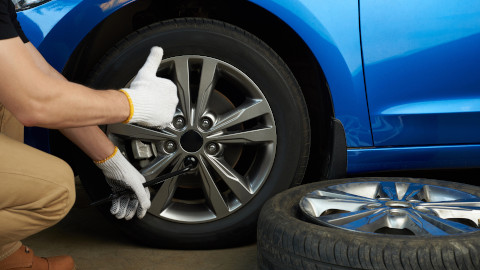
Now it’s time to remove the wheel, but first remove the wheel nuts/bolts and keep them in a safe place as you’ll need to reuse them to secure the replacement wheel.
Pull the wheel away from the car, and be mindful that a car wheel isn’t light. Make sure you place the old wheel away from where you’re working, so you don't clutter the space.
Get the spare wheel and align it in position and screw the nuts/bolts you on. Make sure they have been screwed in properly, and haven't been cross threaded. Once you're confident the wheel is on properly, lower the carjack until the tyre is on the floor.
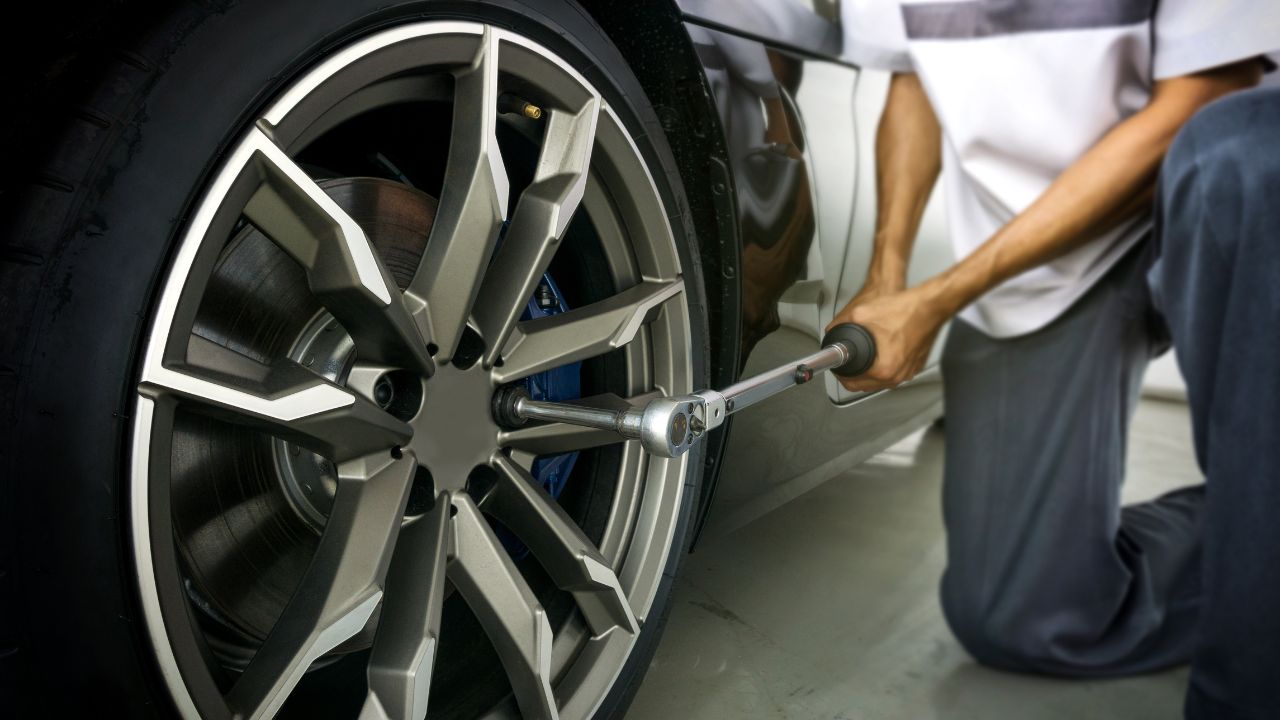
Remove the carjack from under the vehicle and tighten the nuts/bolts using your wrench. Place the covers back on if your vehicle has them.
We'd recommend having your vehicle's wheel checked over by a mechanic or tyre shop, who will be able to torque (tighten) the nuts/bolts to the manufacturer's specification, ensuring you're safe on the road when driving.
Top tip: Wheels that have been secured to the car for a while may be quite difficult to get off, so giving the sidewall of the tyres some hard taps with your hand can help loosen any corrosion/dirt/grime holding the wheel.
Need help maintaining your vehicle?
Replacing a car or van wheel is a relatively easy task that isn’t very time-consuming. This type of maintenance procedure is safe to be done at home, or in a hard shoulder, but considering that a car wheel can be heavy, we recommend you perform this task accompanied by someone who would be able to carry and lift heavy items.
At Evans Halshaw we provide several maintenance guides to help you when DIY is possible. If you’re still unsure on how to change the car wheel or require support with anything related to your vehicle’s maintenance, we recommend booking an appointment at Evans Halshaw servicing.

